
Printing LED Enclosures with Ultimaker
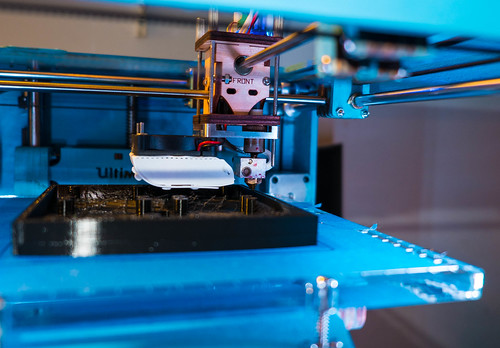
Spent some time today doing some 3D printing with the Ultimaker. And by some time I mean quite a while.
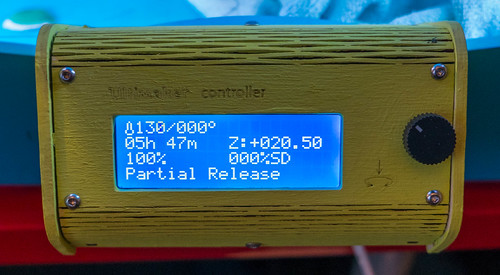
Nearly a six hour print, one of my longest so far
I’m making an enclosure for a set of Gadgeteer LED Matrix Modules from GHI. I want to combine four of them to make a 16x16 dot LED display. Once I’ve built it and got them working I’ll figure out what to do with them. I spent a while last week printing out version one of the enclosure. Rather stupidly, I made this exactly the right size, i.e. 120mm wide internally. I figured that since the units were 60mm in size each that would work fine. Not so. It made them just the right size to not fit. It is a testament to the Ultimaker printer that they would not fit either way because they were exactly the same size as the opening in the enclosure. Darn.
So it was out with FreeCad and away to design a new enclosure with an extra mm all round, so that I could actually get the units into it. I also added some support pillars that engage with the Gadgeteer boards behind each display. What I need now are some really slim nuts so that I can bolt the displays in place.
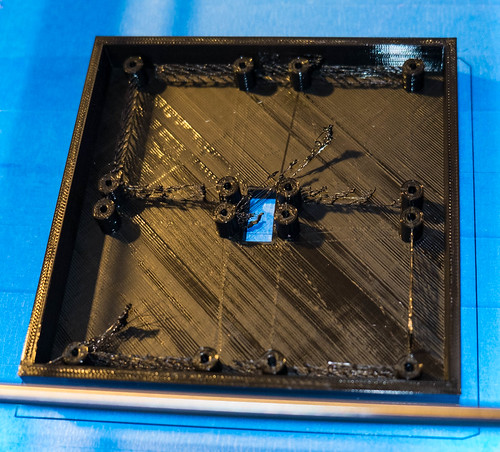
This is the finished print, complete with “sprue” that I’ll have to clean off. It took me ages to prise it off the blue tape. I think I need to adjust the platform a bit to make the top layer a bit smoother although, for this build, you don’t actually see this bit.
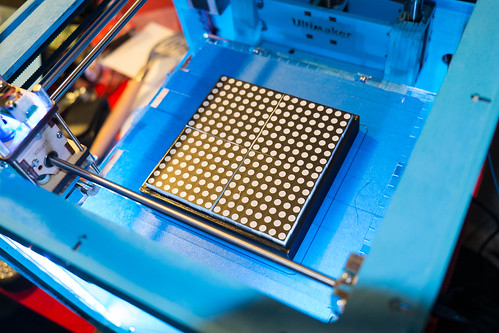
Here is the tray with the LED units fitted.
 Rob
Rob
Reader Comments (2)
For PLA you can use a business card to spread a thin, even layer of PVA glue onto a glass build surface. This will be uniform and give a nice glassy look to the print surface. A single application lasts me about 10 prints.
http://mynokiablog.com/2013/01/18/nokia-releases-3d-printing-templates-for-lumia-820-shells-allows-you-to-print-your-own-custom-shell/